Showing posts with label gardening. Show all posts

Winter Vegetable Gardening


Printable Version (PDF)

The onset of winter means the end of the growing seasons for most gardeners -- planning for spring and pining for warmer weather -- but an increasing number of gardeners are using inexpensive, innovative methods to extend the growing season, allowing them to harvest through the coldest months of the year.

What You Need to Know
SourceJohn5199 [CC-BY-2.0]
via Wikimedia Commons

Plants stop growing when there are fewer than 10 hours of daylight available. The key to winter gardening? Know what to plant at what time of year.

Vegetables and herbs that can survive over the winter (overwinter) for early spring harvest include garlic, leeks, thyme, sage, carrots, spinach, and kale. Plants like broccoli, cabbage, beets, and arugula are suited for late-fall and winter harvest.

Fabric row covers, cold frames, and bottomless boxes with clear tops are just some of the tools used to protect plants and to extend the growing and harvesting season.

Another option is to install a hoop house or mini tunnel and to cover the structure with plastic sheeting. This allows light to reach the plants while protecting them from frost, snow, and wind.

In the Pacific northwest coastal region, where we are, the climate conditions can mean an even easier time gardening through the winter.

Tips to keep your garden going through winter

Add protection: Make sure your vegetables are protected from the cold.

Change the climate: Winter crops thrive inside an old-fashioned cold frame, which is essentially a bottomless box with a glass top that you can build yourself or purchase ready-made.

Double up: As temperatures drop, or if your area is particularly chilly, you can add a greenhouse to your cold frame.

Sow now, reap later: Vancouver tends to have a moderate climate, but for other areas, winter crops should be sown by mid-October at the latest.

Keep plants young: Younger plants are much stronger than older ones in cold growing conditions. Keep greens young by trimming the outer leaves and harvest in the middle of the day, when plants have defrosted.

Move indoors: Sprouts and herbs will do fine on a sunny windowsill, but most houses are too warm to grow other crops in natural light. When it is cold, plants tend to grow slowly. Fluorescent grow lights are a good option to ensure that your plants are getting enough light.

Make sure that plants are not sheltered in more than two layers of protection -- this cuts out too much light and can affect plant growth.


With preparation, you can continue growing through many chilly months. Planting winter vegetables right after the summer harvest -- and some hardier crops until September end -- will ensure that there are vegetables around when winter hits.


Resources
"Last chance! 8 veggies to sow now", BC Living

Gardening From Kitchen Scraps (How to Regrow or Clone Plants)


Printable Version (PDF)

What You'll Need
Kitchen scraps
Water-proof container
Water
Soil mix
Well-lit windowsill
Scissors


Credit: Christina Mak
When someone mentions gardening, we often think about growing from seed or using starter plants -- but did you know that you can also grow plants using kitchen scraps and a sunny windowsill?

All you need is a bit of space and patience, and a kitchen scrap here and there. Before you know it, you'll have your own mini garden!

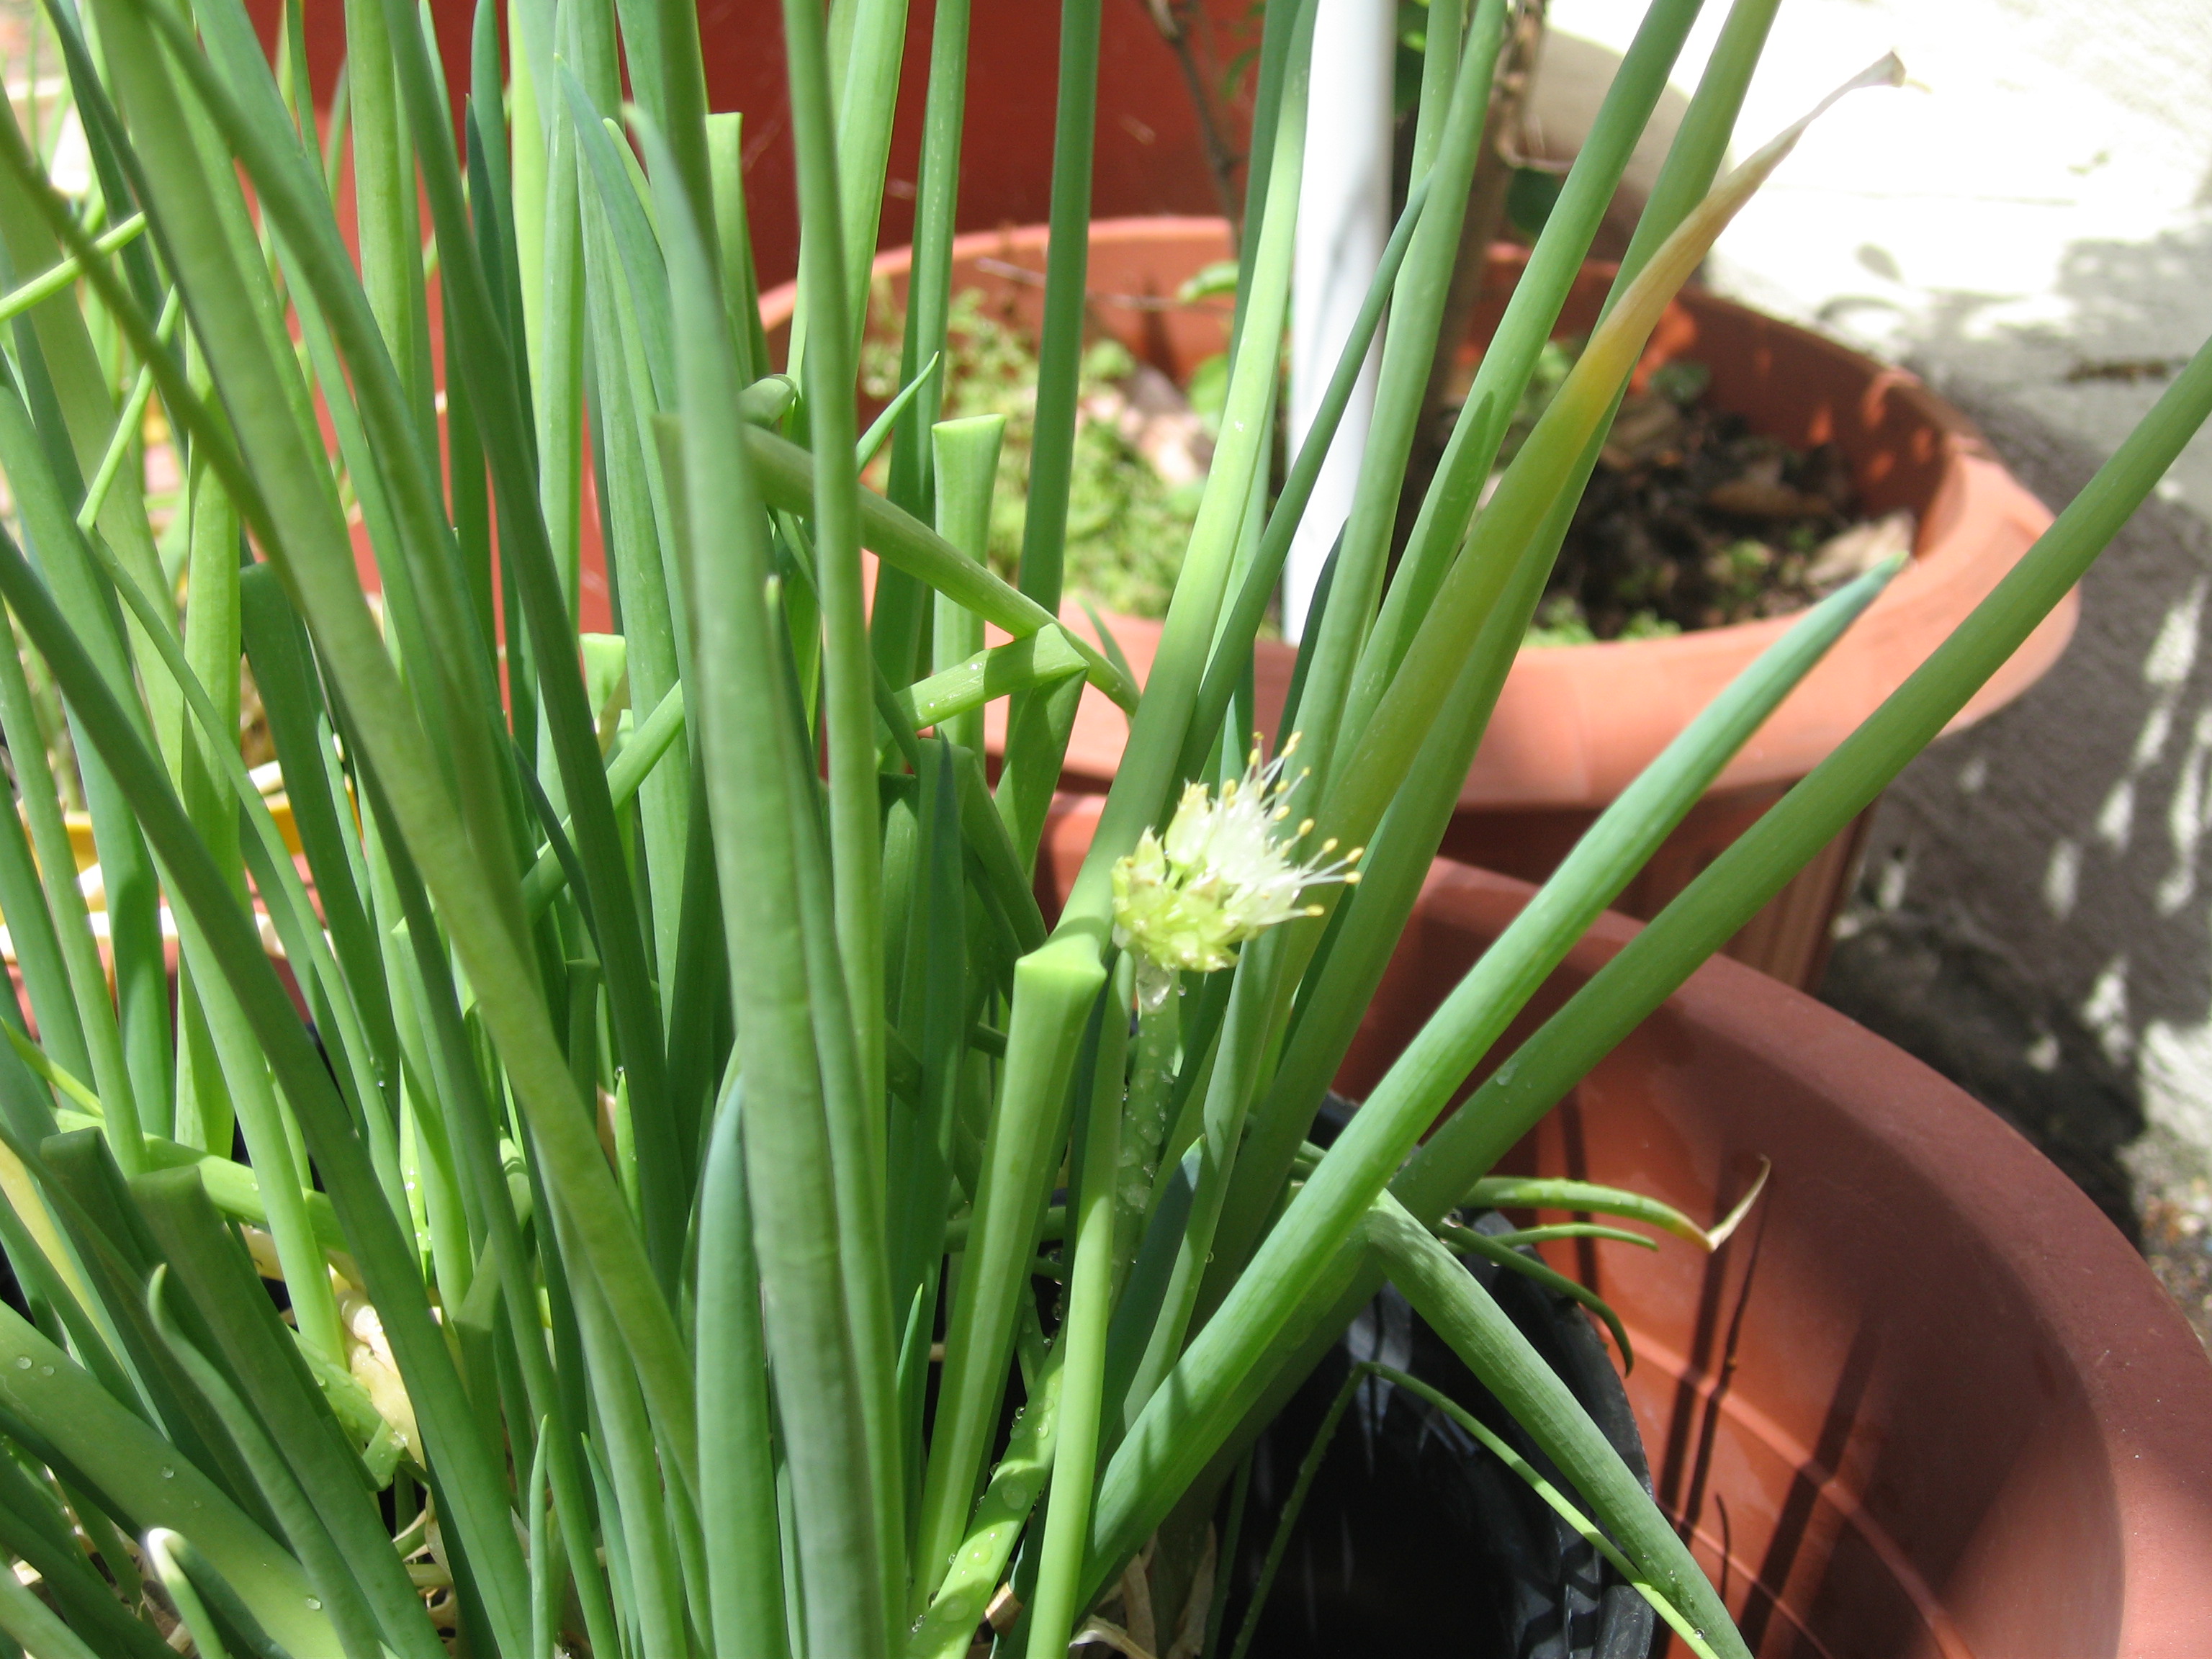
Green Onions
Source: Wikimedia Commons 

Save the last inch or two with the bulb and roots. Place the end in a jar of water and keep it in a sunny but protected spot. Replace the water every few days. Within a day, it will begin to regrow.

Once several inches have grown out, you can harvest the green onions. You can get a few harvests before production begins to slow and the onions are less flavourful. At this point, or once new roots have grown to at least a half-inch, pot up your green onions in some potting soil mix and a pot at least 6 inches deep or plant in the ground.

You can do the same with leeks, spring onions, fennel, and lemongrass.

Ginger
Source: Thamizhpparithi Maari
[CC-BY-SA-3.0] via Wikimedia Commons

Cut off a small chunk of ginger and plant it in soil with the newest buds facing up. Place the pot in a sunny but protected spot. Before long, the ginger piece will begin to regrow shoots and roots.

Once the plant is established and you are ready to harvest, pull up the whole plant from the soil, including the roots. Take care not to damage the new roots. Remove a piece of ginger and replant the whole thing to continue the process.

Potatoes

Pick a potato that has many well-formed eyes. Cut it into 2- to 3-inch pieces, making sure that each piece has at least 1 to 2 eyes on it. Leave the cut pieces out at room temperature for a day or two to allow the cut areas to dry (and help to prevent rotting after planting).

Plant your potato pieces about 8 inches deep in fertile soil with compost mixed in. Cover the potato pieces with 4 inches of soil and leave the remaining 4 inches empty. As the plant begins to grow and more roots appear, add more soil.

You can do this with any variety of potato, including sweet potatoes (though these can take a long time and may not even produce new sweet potatoes).

Celery

Cut the leaves and stalks off to about an inch above the roots (the flat part of the celery where the stalks join). Place the root end in a dish of water, but make sure that the rest of the plant is not submerged. Put the dish in a sunny area and spray it with water a couple of times a week to keep the top of the plant moist.

New shoots will begin growing from the centre of the cut end, while the cut stalks will slowly brown and fall away. Once the celery plant is a couple of inches tall and established, plant it in soil.

You can also do the same with lettuce, bok choy, and cabbage. It isn't necessary to plant the lettuce in soil, but if you do, the leaves and plant will grow to a much bigger, fuller size.

Onions

Onions are one of the easiest vegetables to grow from cut-off scraps. Just cut off the root end of an onion, leaving about an inch of onion above the roots. Allow the cut piece to dry for a few hours in a shaded, well-ventilated area to let the onion callous a bit. Place the piece of onion with the root end down into soil. Cover with 1 to 2 inches of soil and water as needed.

Garlic
Source: Matt Frederick [CC-BY-2.0]
via Wikimedia Commons

Simply plant a clove, skin and all, with the root end down (the hard, sometimes indented, part). Place the plant by a sunny window. Water as necessary, and wait.

Once the plant is established, cut back the shoots. The plant will put its energy into producing a garlic bulb. To continue the process after harvest, just save one of the cloves and pot it up.

You can regrow a whole garlic plant from a single clove. Both the cloves and the shoots from the bulb are edible.

Basil

Save a few sprigs of basil and trim the stem below (at least one) a node. Make sure the stem has not hardened and turned woody. Pick off the sets of leaves, keeping just a couple of pairs at the top of the stem. Pinch off any flowers that have formed or are beginning to form.

To root the cutting in water, place the stem in a glass and cover the stem until just above the node with water. Place the glass in a sunny spot, changing the water every couple of days and topping up as needed.

To root the cutting in soil, stick the stem into a pot with potting mix until the soil covers the top of the node. Place the pot in a sunny spot and water to keep the soil moist.

Roots will begin to form after a week or so. If growing in a pot, make sure it is at least 7 inches deep, as basil has long roots. You can transplant the basil when it has established and grown at least 2 sets of leaves.

You can try this with other herbs like thyme, oregano, and rosemary. Parsley will not root from cuttings.


Have you been wanting to try your hand at food gardening but been hesitant to make the commitment of buying seeds, planters, soil, and other materials? Gardening from kitchen scraps provides an easy, low-cost way to explore food growing (and to occupy -- ahem, involve -- kids with growing experiments).


Resources
Apartment Therapy, “How to Clone Your Herbs”
Mrs. Happy Homemaker, “15 Foods That Can Be Regrown From Scraps”

Food Gardening 101


Printable Version (PDF)

So, you've decided that you want to try growing something -- not just anything, but food! (Congrats.) Just think: fresh, delicious, affordable healthy food... grown with your own blood, sweat, and tears. (Wait, no, maybe not all three.) But seriously!

Where do you start? What do you plant? How do you keep the darned things alive?


What You'll Need
Gardening space
Seeds or starter plants
Soil mix
Watering can (and water)
Soil supplements

Planning Your Garden

Plants have different light, temperature, and climate needs. Some plants like beans, tomatoes, and strawberries love sun and heat, while others like lettuce and green onions favour shade. Some, like thyme and parsley, aren't too particular and can grow happily year-round if cared for.

Whether you have access to a yard or community garden plot or a small raised bed or a collection of containers, it's possible to grow something. The size of your site will impact what you can grow -- some plants aren't suited to small-space gardening, so good garden planning is essential.

The type of growing medium you need will depend on your growing space. Containers, for example, require a soil-less or other container suitable mix to ensure proper drainage.

Make sure to plan when and what you want to plant. Many plants require their seeds sown after last frost, while others can be sown indoors any time, provided light and temperature needs are met. Some plants also benefit from being planted with others (companion planting).

Beginning Your Garden

Depending on the type of seed and the time of year, seeds may need to be sown indoors and transplanted outside later or planted directly in their plots. The seed package will tell you how deep to plant seeds, as well as where and when.

All plants need a few things in order to sprout and grow: soil, moisture, warmth, and light. Soil should be moist before you plant seeds -- damp, like a wrung-out sponge, not wet or soggy. Some seeds like alfalfa or mustard will sprout in a few days, while others like rosemary can take weeks or even a month to germinate.

Watering is a regular task, and how often you do it depends on the age of the plant, weather, soil type, container type, and type of plant. You can water manually or set up a drip/low-flow automatic or contained self-watering system.

When your seedlings grow to a certain size, they will often need to be transplanted, especially if grow in starter trays or small containers. Plants need room for their roots and shoots to grow, and crowding them will make it harder for them to survive. The thinnest should be cut at soil level (thinning). When transplanting, dig the planting hole slightly deeper and about twice as wide as the original pot. Add compost or organic fertilizer into the hold and gently ease the plant in. Make sure its soil is level with the new surrounding soil, and then fill in the remainder of the hold with soil and water well.

Garden Maintenance (Keeping Plants Alive)

There are a few key essentials to keeping plants healthy and thriving.

Pruning removes dead, dying, or diseased growth; improves air circulation; allows sunlight to reach and ripen fruit; and improves or controls the size and shape of a plant. The type of plant will help determine how you prune new and old growth. Culinary herbs, for example, should have new growth pinched out regularly to encourage bushier and more vigorous growth and prevent the plant from producing flowers and seeds.

Weeds can be troublesome for in-ground gardens, while container and indoor gardens may see little to no weed growth. They can cause problems because they compete with crops for nutrients and space -- and can take over your garden if you fail to keep them at bay. (Some weeds can also be helpful, but that's a story for another time.)

Weeding can be done by hand, through mulching, or through use of organic weed controls (e.g. mixture of salt and vinegar).

When it comes to pest and disease control, the best defence is healthy soil and plants. Some insects like aphids are looking forward to tasting your home-grown goodies, while others like ladybugs and bees can be beneficial.

As your plants grow, they take in nutrients from the soil. To keep your soil healthy and your plants productive, it is necessary to amend your soil from time to time. Making and using compost is one of the best ways to do this.


What are the best seeds to buy? There are a lot of choices. Organic or non-GMO seeds, grown without insecticides or fungicides, are a good bet, but you can also grow heirloom varieties, which have natural resistance to pests and diseases.


The three rules of watering:

1) Water the soil, not the leaves.

2) Water in the morning. The second best time is at night.

3) Water deeply, not more frequently. It is better to water infrequently for longer periods of time, allowing water to soak in, than to sprinkle the soil surface daily.


Tip: If you start your seedlings indoors, they will need to be hardened off before moving outside. Putting young plants outside without preparation can shock and kill them.


The Short Version

1) Find a container and fill it with soil mix.

2) Sow a few seeds in the soil.

3) Put the plant in a sunny spot protected from frost.

4) Remember to water it occasionally (based on the plants' water requirements).

5) Wait. Keep it company. Sing it a song. Love it and care for it. (Cross your fingers?)


There you have it! Our very own (and very cursory) guide to growing food. Gardening can take some trial-and-error before you find what works for you, so be patient, get creative, and dig into some dirt. Happy planting!


Resources
Bellamy, A. (2010). Sugar snaps and strawberries: Simple solutions for creating your own small-space edible garden. Portland, Oregon: Timber Press.